Technical - Replacing the Sheeting Line
The RC Laser comes fitted with a sheeting line of plastic wire which runs up and down the deck from the winch. Unfortunately, it won't be long before you find this line stretches a bit too much and tangles up around the winch, a position which could leave your boat stranded. When this happens most people look for a more reliable material for the sheeting line. The most popular alternative is to use 1mm Dynema available from a chandlery; although a thin piece of string from a DIY store will do equally as well (household string features in the following photos).
As the sheeting line moves up and down it goes slack and then tight, if stretch material isn't being used anymore then some shock cord needs to be inserted into the loop to take up the slack. The following explanation, together with photographs, is intended to provide an easy guide to fitting a new sheeting line:
Step One: The Sheeting Line
Take a length of line (approx. 220cm) and tie a loop 130cm from one end. Then tie another loop about 10cm from the first one: i.e. 140cm from the end (Fig. 1).
Fig. 1 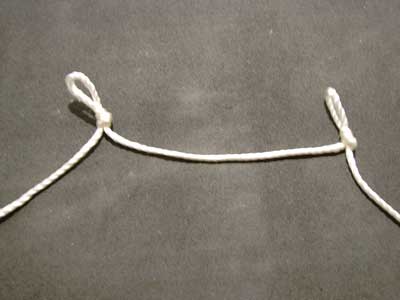
Step Two: Positioning the Drum
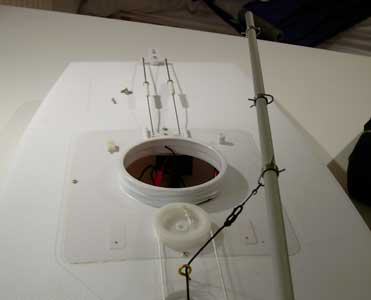
Switch the transmitter and receiver on and move the transmitter stick up and the trim tab down (Fig. 2). Switch the boat off and unscrew the drum. Put the end of the line (the end 130cm from the first loop) through the pulley at the bow from the starboard side to the port side then through the hole on the upper ring of the drum and tie a stopper knot about 5cm down the rope (Fig. 3). Place the drum back on the servo: if the drum was a clock face and the number 12 was nearest the hatch, place the knot at the number 10 (Fig. 4).
Fig. 2 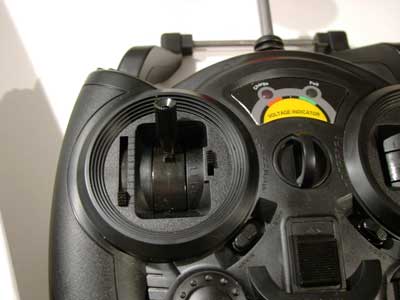
Fig. 3 
Step Three: Fitting the Other End of the Line.
Switch the boat back on and move the stick on the transmitter all the way down, this will sheet the line round the drum and should leave the loop 1cm from the bow pulley ; adjust the stopper knot on the drum if this loop is too far from the pulley or too close.
Feed the free end of the line into the hole on the lower ring of the drum, take up the slack on the line and tie a stopper knot.
Fig. 4 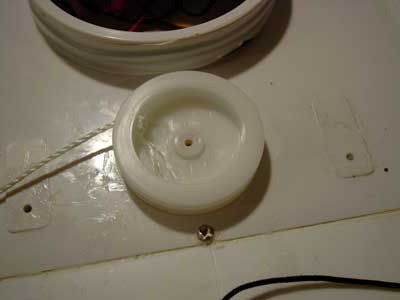
Step Four: Tensioning the Line
With the transmitter, move the sheeting line so that the first loop is alongside the mast support (Fig. 5).
Next, take a piece of 3mm shock cord and tie it between the two loops so that the loops are drawn together. This is the slackest part of the sheeting line so tie the cord tight enough to lift the line free of the deck.
Fig. 5 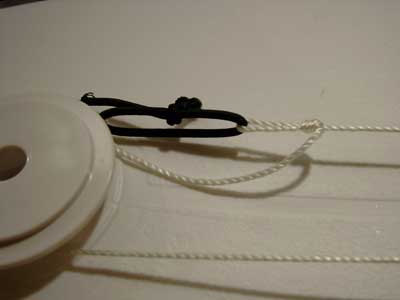
Step Five: Attaching the Mainsheet
Attach the mainsheet to the loop closest to the bow. Sheet in all the way and attach the other end to the boom so that the boom is sheeted in over the centre line. This will give you all the range you require, but will mean that you will be over-sheeted if you don't adjust the trim tab. Adjust the trim tab so that the boom is over the back quarter of the boat when fully sheeted in (Fig. 6).
Fig. 6